Setting up a Server
Players can host their own multiplayer servers through the Unturned Dedicated Server tool. (This can be abbreviated as “U3DS”.)
This tool is provided alongside Unturned but must be installed separately. It can be installed and ran from your Steam Library, or instead through SteamCMD for a much more advanced setup.
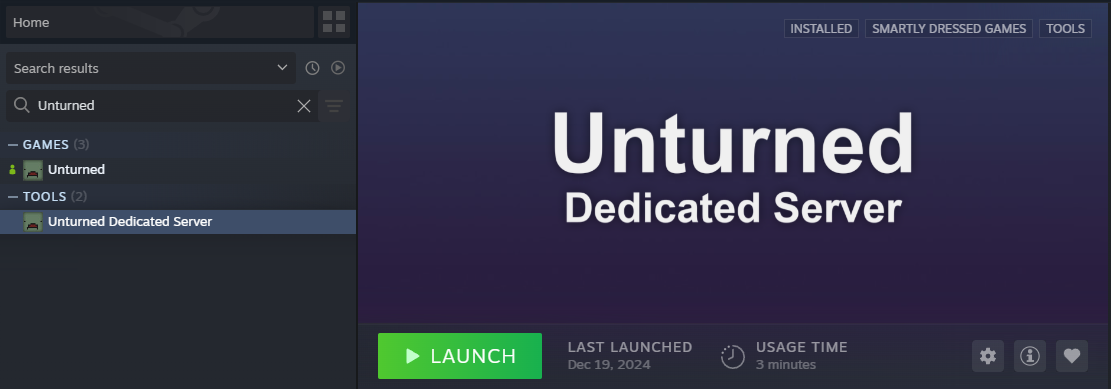
Find the Unturned Dedicated Server app in your Steam Library.
Servers can be hosted on Windows and Linux operating systems. There is no support for hosting on macOS devices.
Simple Setup
This section provides a quick guide to creating your own server—perfect for hosting a private multiplayer world for just you and a few friends.
Port forwarding and other optional – but useful – features are not covered in this section. Consider reading more advanced setup instructions once your server is functional.
1. Launch the Unturned Dedicated Server app
Launch the Unturned Dedicated Server app from your Steam Library.
The Server Console will open in a new window. It may take a few minutes for your server to boot up while it generates any necessary files and loads your world data.

You should see “Loading level: 100%” when it finishes booting, along with a Server Code.
Save and Shutdown
There is no built-in autosave feature. You must use the Save command to manually save your server while its still running, or the Shutdown command to safely save and close your server.
Savedata and configuration files can be found in the ...\U3DS\Servers\ directory. You will see a folder for each server you have created.
Configure Server Settings
Configuration files can be found inside your server’s server folder. Most settings cannot be configured while the server is open.
Hint
If you created a server using the Simple Setup guide, you can find your server’s settings from the ...\U3DS\Servers\Default\ directory.
Commonly-used configuration files are:
- \Server\Commands.dat – Configure basic server settings, such as: Map, Password, and Max Players.
- \Config.json – Adjust difficulty settings and advanced server settings, such as: increasing Item Spawn Chance or assigning a Game Server Login Token. This file has separate options for adjusting the preset Easy, Normal (default), and Hard difficulty settings.
- \WorkshopDownloadConfig.json – Download mods from the Steam Workshop.
Commands
Commands—sometimes referred to as console commands or cheat commands—range from tweaking server settings to spawning items. Most commands are set in the Commands.dat file, with each command separated by a newline.
Learn more about available commands on the Unturned Wiki. Below is an example setup that includes many commonly-used commands:
// [[ SERVER CONFIGURATION ]]
// Lines starting with "//" are comments – which aren't read when launching your server.
// Read more about commands on the game's wiki: https://unturned.wiki/Commands

// Name of your server in the server list.
Name My Unturned Server

// Specify which map to load, by name.
// Official maps include PEI, Washington, Yukon, Russia, and Germany.
// Use the WorkshopDownloadConfig.json file to download Workshop maps.
Map PEI

// Maximum number of players that can be on the server.
MaxPlayers 24

// Assign a player's steamID64 as the "Owner" to give them administrator privileges, such as invoking cheat commands while in-game.
// Owner YourSteamID

// Enable "cheat commands" for administrators, such as spawning items or vehicles.
Cheats

// Require a password to join the server.
// Password ExamplePassword1234

// Disable player-versus-player combat.
// PvE

// Limit players to a certain camera perspective, such as only first-person. By default, players can use both first-person and third-person perspectives.
// Perspective First
// Perspective Third
Perspective Both
// Perspective Vehicle

// Which port should be used when port forwarding.
// Port 27015
Runtime
Some commands only work during runtime. For example, the Save command only works while the server is running.
You can use runtime commands in two ways:
Type them into the Server Console.
From the in-game chat (only if you are an administrator) while prefixing them with
@or/.
Tip
Add your Steam ID as an administrator (a) via the Owner command, (b) by using the Admin command during runtime, or (c) by including it in the Adminlist.dat file.
Use the Help command to either view a list of all commands, or describe a specific command.
Some runtime commands require Cheats to be enabled. For example, Give is a cheat command used to spawn items.
Learn about more commands on the Unturned Wiki.
Difficulty Settings
Configure your server’s game rules, public server listing, and many other options from the Config.json file.
This file has separate sections for each difficulty preset – Easy, Normal, and Hard. By default, servers use the settings in the Normal difficulty section.
Hint
You can use the Difficulty command to use the settings configured in either the Easy or Hard sections.
Learn about more commands on the Unturned Wiki.
Steam Workshop Mods
Use the WorkshopDownloadConfig.json file to install mods from the Steam Workshop for use on your server. Players attempting to join your server will automatically download any mods configured in this file!
- Open the WorkshopDownloadConfig.json file.
- Find a mod on the Steam Workshop and copy the File ID in the URL. For example, the Hawaii map.
URL: https://steamcommunity.com/sharedfiles/filedetails/?id=1753134636
File ID: 1753134636
- Add the File ID to the File_IDs list. Example:
"File_IDs":
[
        1753134636
],
Tip
You can add multiple mods by separating each File ID with a comma. Example:
"File_IDs":
[
        1753134636,
        1702240229
],
During server startup, any specified mods (and their dependencies) will be installed and updated. Players will automatically begin downloading any mods while connecting to the server.
Curated maps—and a few official arena maps—are only accessible via the Steam Workshop. Like other mods, they need to be downloaded by the server in order to be used:
Workshop Map |
File ID |
|---|---|
A6 Polaris |
2898548949 |
Athens Arena |
1454125991 |
Arid |
2683620106 |
Belgium |
1727125581 |
Buak |
3000549606 |
Bunker Arena |
1257784170 |
California |
1905768396 |
Canyon Arena |
1850209768 |
Carpat |
1497352180 |
Cyprus Arena |
1647991167 |
Cyprus Survival |
1647986053 |
Dango |
1850228333 |
Easter Island |
1983200271 |
Escalation |
3251926587 |
Elver |
2136497468 |
France |
1975500516 |
Greece |
1702240229 |
Hawaii |
1753134636 |
Hawaii Assets |
1753131903 |
Ireland |
1411633953 |
Kuwait |
2483365750 |
PEI Arena |
2396897717 |
Rio de Janeiro Remastered |
3416057692 |
Rio de Janeiro (Original) |
1821848824 |
Washington Arena |
2404652624 |
Switching to an Internet Server
Servers are hosted as a LAN server by default. This means players can only join with your Server Code, and that your server is not visible from the Internet server list. There are a couple options for switching from a LAN server to an Internet server.
Attention
Internet servers should follow our Server Hosting Rules.
Get started by adding a Game Server Login Token (GSLT). This login token is necessary when hosting an Internet server. Configuring it also means your Server Code will no longer change each time you launch your server.
For an Internet server, you must configure either Fake IP or Port Forwarding. Configuring both is not necessary. Fake IP is easier to enable, and it should be adequate for most servers.